loader image
Jul 30, 2024
Mastering Killer Panning Photos of Fast-Moving Cars

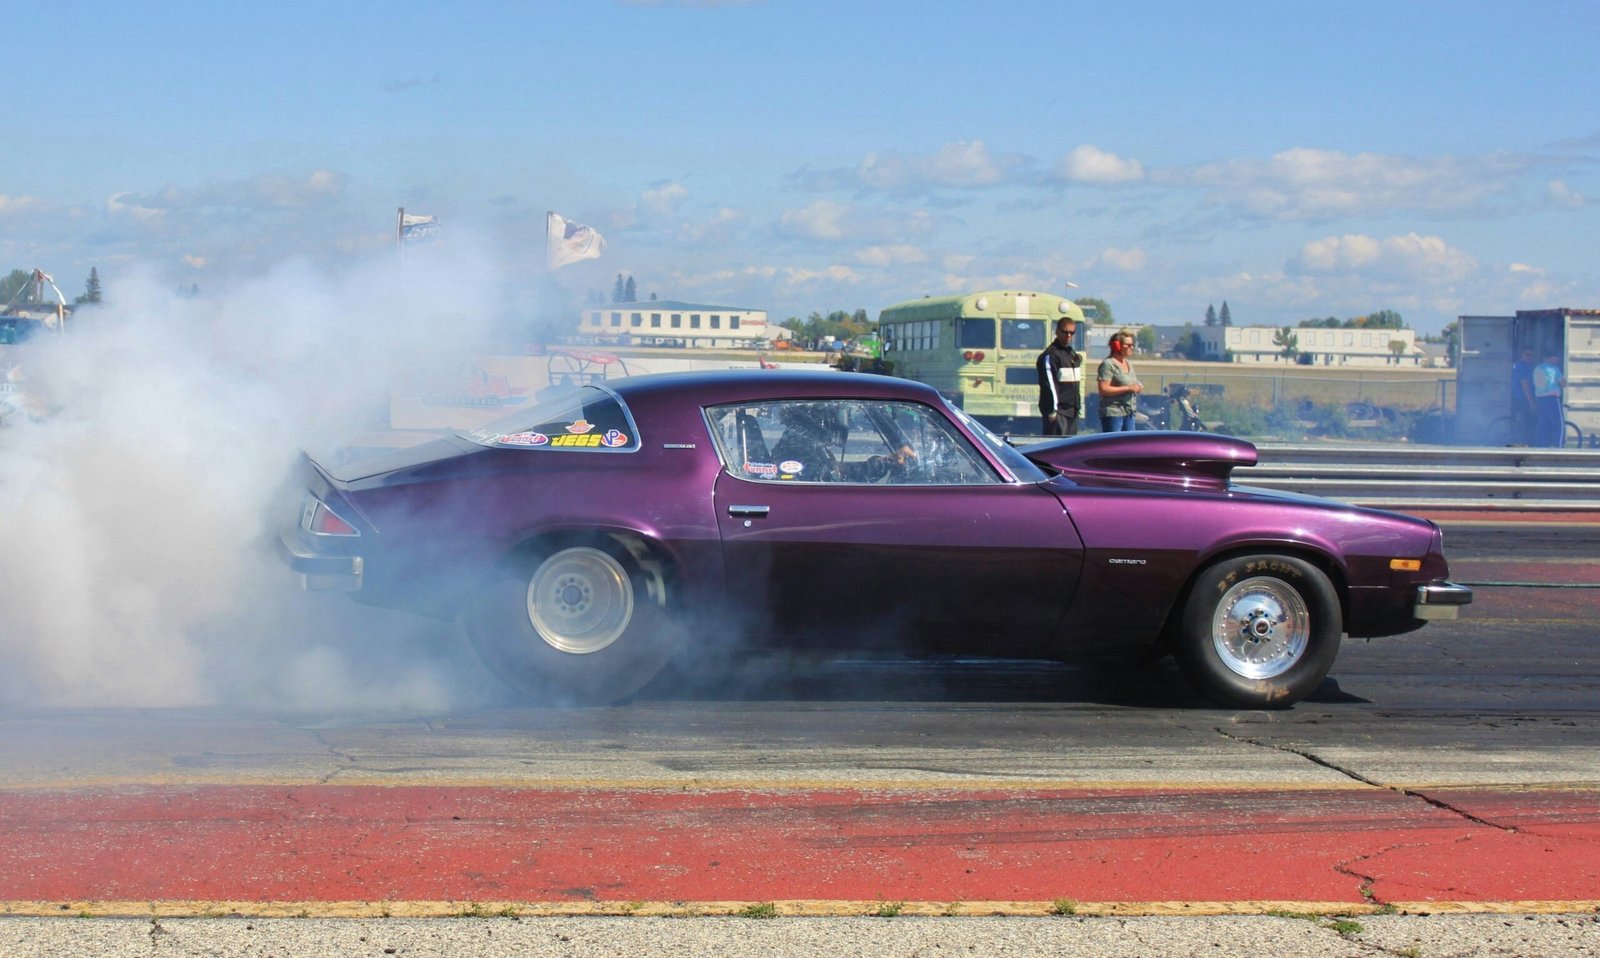
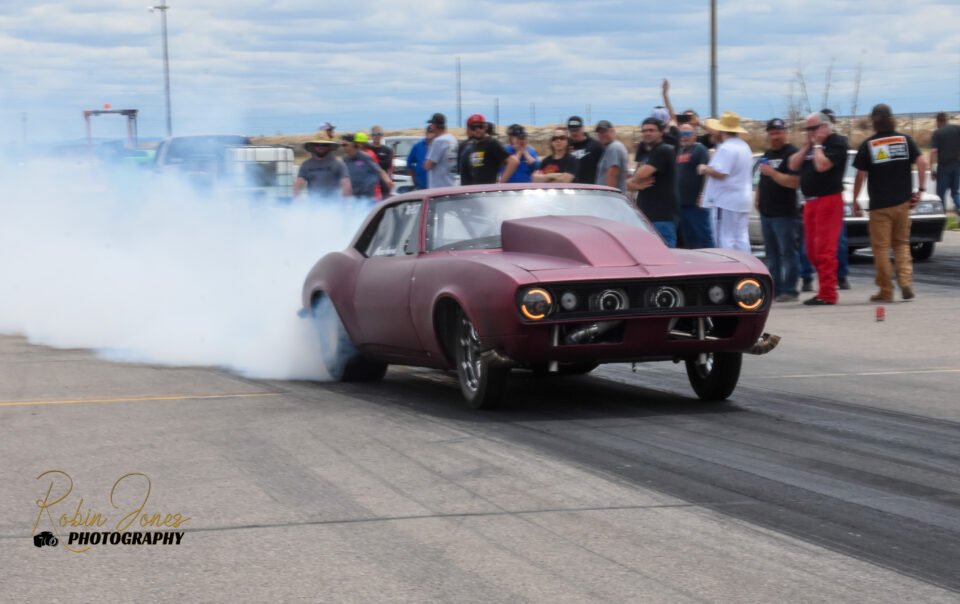
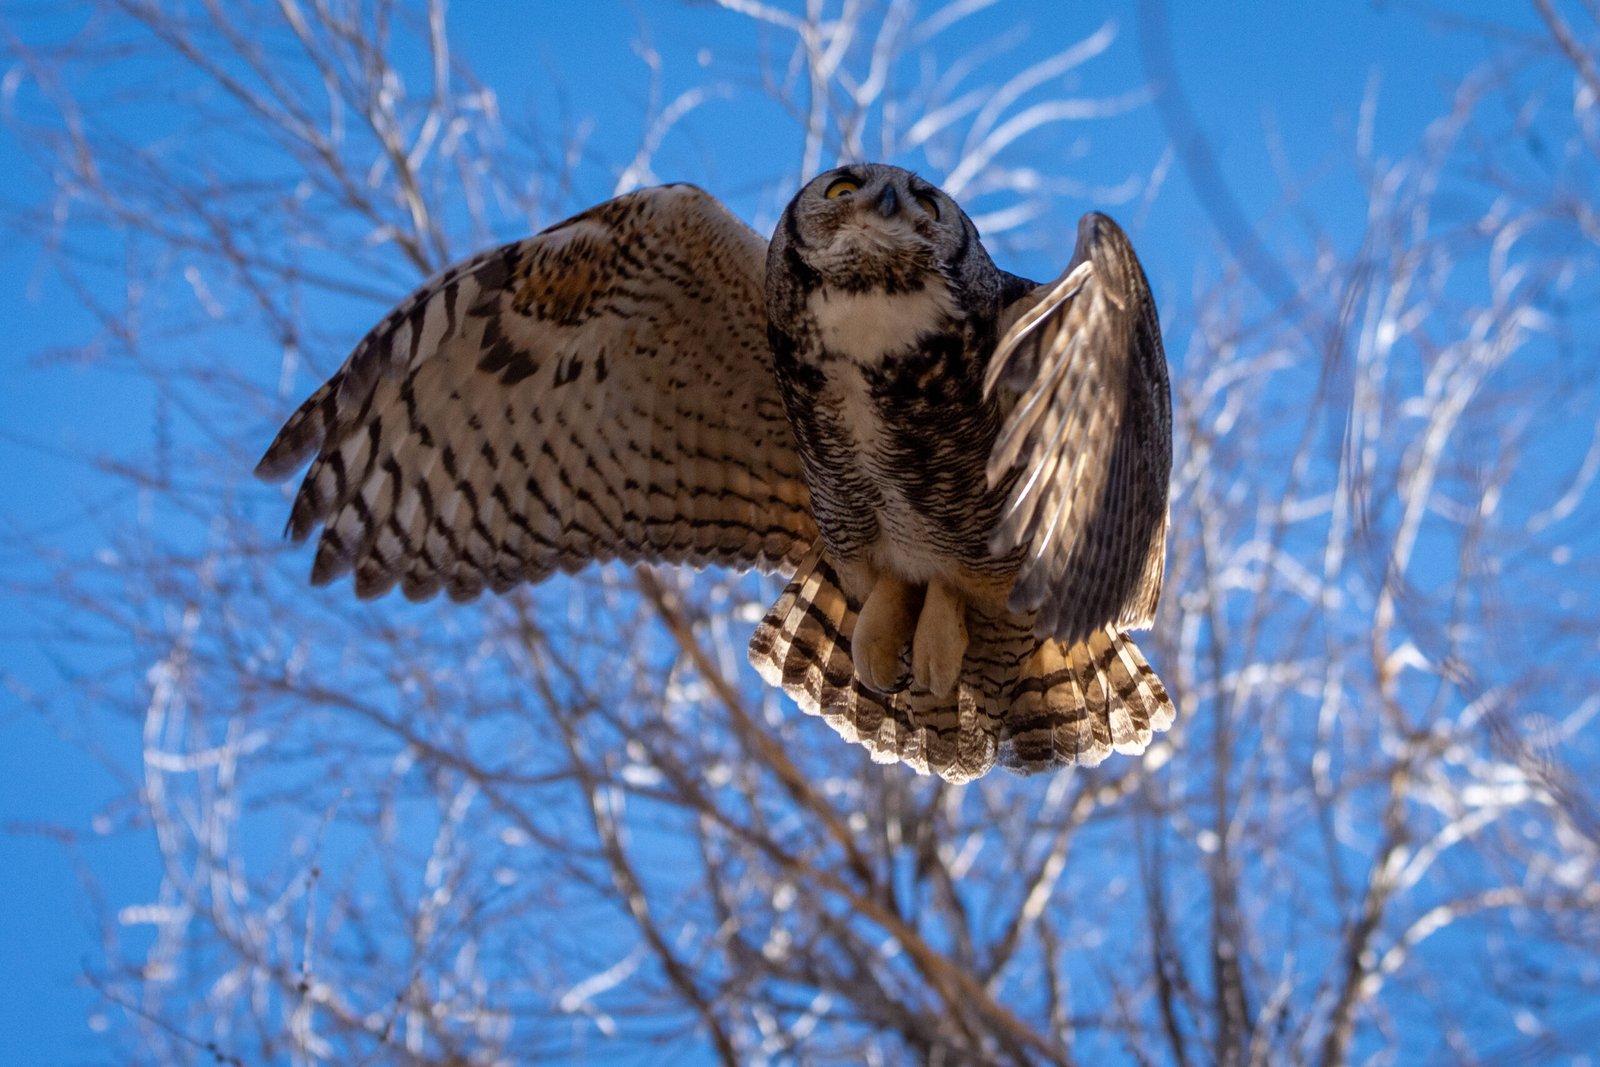
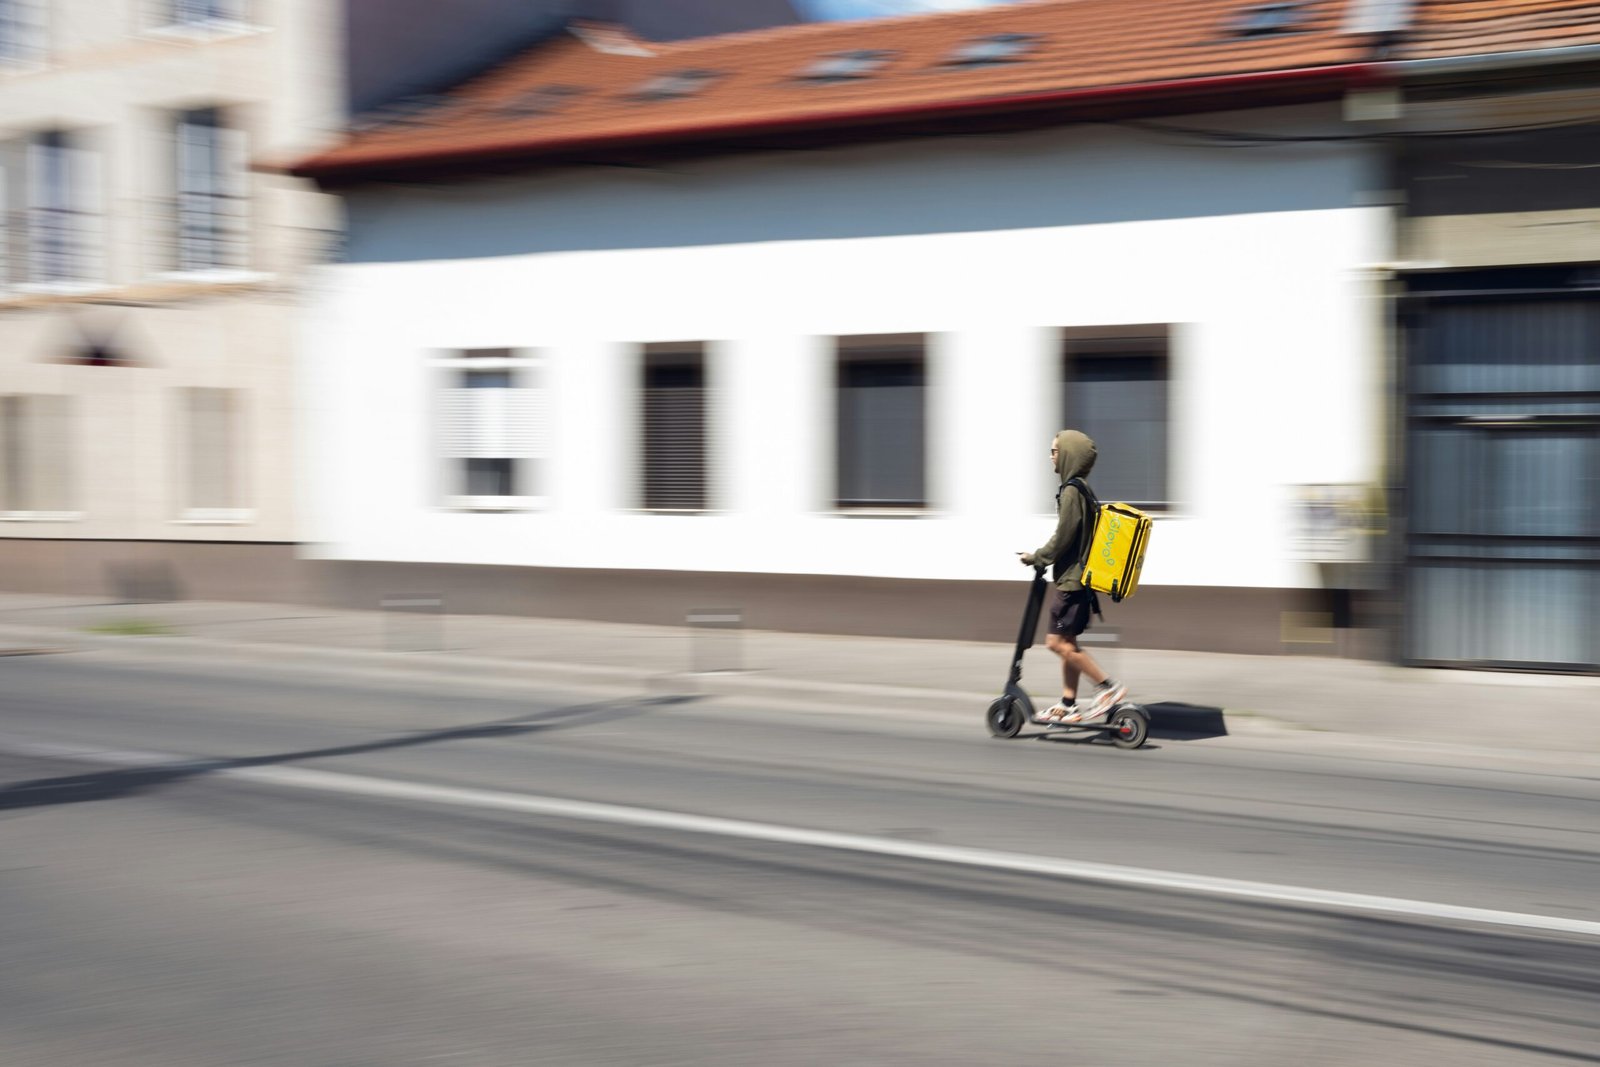
Understanding Panning Photography

Panning photography is a dynamic technique often used to capture motion, particularly with fast-moving subjects like cars. The goal is to have the moving object in sharp focus while the background appears blurred, giving a sense of speed and dynamism. Mastering this technique can elevate your automotive photography to the next level.

Choosing the Right Equipment

To get those killer panning photos, start with the right equipment. A DSLR or mirrorless camera with manual settings is ideal. Opt for a lens with a focal length between 70-200mm for better control and framing. A tripod or monopod can also help stabilize your shots, especially during long sessions.

Setting Up Your Camera

Manual settings are crucial for panning photography. Set your camera to Shutter Priority mode (Tv or S) and select a shutter speed between 1/30 and 1/60 seconds. This range strikes a good balance between motion blur and sharpness. Adjust your ISO to compensate for lighting conditions, and use continuous shooting mode to increase your chances of getting the perfect shot.

Perfecting Your Technique

Position yourself parallel to the path of the moving car. As the car approaches, lock focus on it and start panning smoothly in sync with its movement. Maintain a steady pace and press the shutter button while continuing to follow the car’s path. The key is to move your camera in harmony with the car, ensuring it stays in focus while the background blurs.

Practice Makes Perfect

Panning photography requires practice and patience. Don’t be discouraged by early failures; instead, analyze your shots and make necessary adjustments. With time and effort, you’ll be able to consistently capture stunning panning photos of fast-moving cars.

More Details
Dec 7, 2023
DSLR Camera Settings Explained in Detail

Introduction

DSLR cameras are powerful tools that allow photographers to capture stunning images with precision and control. However, understanding the various settings and functions can be overwhelming for beginners. In this article, we will explain the key DSLR camera settings in detail, helping you unlock the full potential of your camera and take your photography skills to the next level.

1. Aperture

The aperture is the opening in the lens through which light enters the camera. It controls the amount of light that reaches the image sensor and also affects the depth of field. Aperture is measured in f-stops, with smaller numbers (e.g., f/2.8) indicating a larger opening and more light. A larger aperture creates a shallow depth of field, perfect for portraits and isolating subjects from the background, while a smaller aperture (e.g., f/16) results in a greater depth of field, ideal for landscape photography.

2. Shutter Speed

Shutter speed refers to the length of time the camera’s shutter remains open. It determines the amount of light that reaches the sensor and also controls motion blur. A fast shutter speed (e.g., 1/1000s) freezes action, making it great for sports or wildlife photography. On the other hand, a slow shutter speed (e.g., 1/30s) allows for longer exposure times, capturing motion blur and creating artistic effects, such as light trails or silky smooth waterfalls.

3. ISO

ISO measures the sensitivity of the camera’s image sensor to light. A low ISO (e.g., 100) is ideal for bright conditions, while a high ISO (e.g., 3200) is suitable for low-light situations. However, increasing the ISO can introduce digital noise, reducing image quality. Therefore, it’s best to use the lowest ISO possible while maintaining a properly exposed image. Modern DSLRs have improved high ISO performance, allowing photographers to capture low-light scenes with minimal noise.

4. White Balance

White balance ensures that colors appear accurate under different lighting conditions. Different light sources have varying color temperatures, and white balance helps neutralize these color casts. DSLRs offer various white balance presets, such as daylight, cloudy, tungsten, fluorescent, and custom settings. Choosing the appropriate white balance setting or manually adjusting it will result in more natural and true-to-life colors in your photographs.

5. Metering Modes

Metering modes determine how the camera measures the light in a scene to calculate the exposure. The most common metering modes are matrix/evaluative, center-weighted, and spot metering. Matrix metering evaluates the entire frame, center-weighted metering prioritizes the center of the frame, and spot metering measures the light at a specific point. Understanding and utilizing the different metering modes will help you achieve accurate exposures in different lighting situations.

6. Autofocus Modes

Autofocus modes control how the camera focuses on a subject. DSLRs offer various autofocus modes, including single-shot autofocus (AF-S), continuous autofocus (AF-C), and automatic autofocus (AF-A). AF-S is ideal for stationary subjects, AF-C is suitable for moving subjects, and AF-A automatically switches between AF-S and AF-C based on the scene. Understanding and utilizing the appropriate autofocus mode will ensure your subject is sharp and in focus.

7. Shooting Modes

DSLRs provide different shooting modes to suit various photography scenarios. The most common shooting modes are manual (M), aperture priority (Av/A), shutter priority (Tv/S), and program (P). In manual mode, you have full control over all settings, while in aperture priority mode, you set the aperture and the camera adjusts the other settings accordingly. Shutter priority mode allows you to set the shutter speed, and the camera adjusts the remaining settings. Program mode is a semi-automatic mode where the camera selects the optimal settings based on the scene.

Conclusion

Understanding DSLR camera settings is crucial for capturing high-quality images. By familiarizing yourself with aperture, shutter speed, ISO, white balance, metering modes, autofocus modes, and shooting modes, you can take full control of your camera and unleash your creativity. Experiment with different settings and practice regularly to enhance your photography skills and capture breathtaking photos.

More Details
Dec 6, 2023
Tips on Photo Editing and the Best Software to Use

Tips on Photo Editing

Photo editing is the process of enhancing or manipulating images to achieve a desired result. Whether you’re a professional photographer or an amateur enthusiast, here are some tips to help you improve your photo editing skills:

  1. Start with a good photo: The quality of your original photo plays a crucial role in the final result. Make sure your image is properly exposed, well-composed, and in focus.
  2. Adjust the basics: Begin by adjusting the basic elements such as brightness, contrast, and saturation. These adjustments can significantly enhance the overall appearance of your photo.
  3. Crop and straighten: Use the crop tool to remove any unnecessary elements and improve the composition of your image. Additionally, straighten any crooked horizons to create a more balanced look.
  4. Remove imperfections: Take advantage of the healing brush or clone stamp tool to remove blemishes, dust spots, or other distractions from your photo.
  5. Experiment with filters and effects: Try applying different filters and effects to add a creative touch to your images. However, use them sparingly and ensure they complement the subject matter.
  6. Sharpen and resize: Lastly, sharpen your image to enhance details, and resize it to the appropriate dimensions for your intended use, whether it’s for print or web.

The Best Software to Use

There are numerous photo editing software options available, each with its own strengths and features. Here are some of the most popular choices:

  • Adobe Photoshop: Widely regarded as the industry standard, Photoshop offers a comprehensive suite of tools and advanced editing capabilities.
  • Lightroom: Another Adobe product, Lightroom is known for its excellent organization and batch editing features, making it ideal for photographers who work with large volumes of images.
  • GIMP: An open-source software, GIMP provides a powerful set of tools similar to Photoshop, making it a great free alternative.
  • Capture One Pro: This software is highly regarded for its exceptional image quality and precise color editing capabilities, making it a popular choice among professional photographers.
  • Affinity Photo: Known for its affordability and powerful editing tools, Affinity Photo is gaining popularity among both professionals and hobbyists.

Ultimately, the best software for you depends on your specific needs and budget. Consider trying out different options to find the one that suits your editing style and requirements the most.

More Details
Dec 6, 2023
Tips for Taking Photos of Wildlife

Photographing wildlife can be an exhilarating and rewarding experience. Whether you are a beginner or an experienced photographer, capturing stunning images of animals in their natural habitat requires patience, skill, and some useful tips. Here are some suggestions to help you improve your wildlife photography:

1. Research and Plan

Prior to heading out to photograph wildlife, do some research about the animals you are targeting. Learn about their behavior, habitat, and feeding patterns. This knowledge will enable you to anticipate their movements and increase your chances of capturing unique moments.

2. Use the Right Equipment

Invest in a good quality camera and lenses that are suitable for wildlife photography. A telephoto lens with a long focal length will allow you to get close-up shots while maintaining a safe distance. Additionally, consider using a tripod or monopod to stabilize your camera and reduce blur.

3. Be Patient and Observant

Wildlife photography requires patience and keen observation. Spend time quietly observing the animals and their surroundings. Look for interesting behaviors, interactions, or moments of action. Avoid sudden movements or loud noises that may startle the animals.

4. Understand Lighting and Composition

Pay attention to lighting conditions and how they affect your subject. Soft, diffused light is often ideal for wildlife photography. Experiment with different angles and compositions to create visually appealing images. Consider the rule of thirds and use leading lines to draw attention to your subject.

5. Respect the Wildlife

Always prioritize the well-being of the animals and their environment. Maintain a safe distance and avoid disturbing their natural behavior. Do not use flash photography if it may cause stress or harm to the animals.

By following these tips, you can enhance your wildlife photography skills and capture stunning images of the fascinating creatures that inhabit our planet.

More Details
Dec 6, 2023
How to Get Into Racing Photography

Introduction

Racing photography is an exciting and challenging field that combines the love for sports and the art of capturing dynamic moments. Whether you’re a motorsport enthusiast or a photography enthusiast looking for a new genre to explore, getting into racing photography can be a rewarding experience. In this article, we will discuss some essential steps to help you get started in the world of racing photography.

1. Learn the Basics of Photography

Before diving into racing photography, it’s important to have a solid foundation in the basics of photography. Familiarize yourself with concepts such as exposure, composition, and lighting. Understand how to use manual settings on your camera and experiment with different techniques to capture motion effectively.

Invest in a good quality camera with interchangeable lenses, as this will give you more flexibility in capturing different perspectives and details. Additionally, learn how to edit your photos using software such as Adobe Lightroom or Photoshop to enhance the final result.

2. Research Racing Events

To get started in racing photography, it’s crucial to research and find out about upcoming racing events in your area. Look for local racetracks, motorsport clubs, or organizations that host racing events. Check their websites, social media pages, or local event listings to stay updated on upcoming races.

Attending smaller local races can be a great way to practice and gain experience before moving on to larger, more high-profile events. These events often have more accessible areas for photographers to capture the action up close.

3. Understand the Sport and Its Dynamics

Each racing discipline has its own unique characteristics and dynamics. Whether it’s Formula 1, MotoGP, NASCAR, or any other racing series, take the time to understand the rules, strategies, and key moments that define the sport. This knowledge will help you anticipate and capture the most exciting moments during races.

Study the tracks, learn about the drivers or riders, and familiarize yourself with the different racing techniques. Knowing the sport inside out will enable you to capture more impactful and meaningful photographs.

4. Choose the Right Equipment

When it comes to racing photography, having the right equipment is essential. Invest in a fast and reliable telephoto lens to capture the action from a distance. A lens with a focal length between 200mm and 400mm is generally recommended for capturing racing moments effectively.

Consider using a monopod or tripod to stabilize your camera, especially if you’re shooting for an extended period. This will help reduce camera shake and ensure sharp images. Additionally, having extra memory cards, batteries, and a camera bag to carry your equipment is crucial for a successful day of shooting.

5. Find the Best Shooting Locations

Before the race begins, scout the racetrack to find the best shooting locations. Look for spots that offer a clear view of the track and provide interesting angles or backgrounds. Areas near turns, start/finish lines, or overtaking zones often yield exciting photo opportunities.

Pay attention to safety regulations and guidelines set by the event organizers. Always stay in designated areas and follow their instructions to ensure your safety and the safety of others.

6. Capture the Action

During the race, focus on capturing the action and the emotions of the drivers or riders. Experiment with different shutter speeds to convey motion, from freezing the action with a fast shutter speed to creating motion blur with a slow shutter speed.

Try capturing different perspectives, such as close-ups of the drivers or riders, wide-angle shots of the entire track, or panning shots that follow the moving subject. Be patient and ready to react quickly to capture those decisive moments that make racing photography so thrilling.

7. Build Your Portfolio and Network

As you gain experience and capture stunning racing photographs, build a portfolio to showcase your work. Create an online presence through a website or social media platforms dedicated to your racing photography. Share your best images and engage with other photographers, motorsport enthusiasts, and potential clients.

Networking is essential in the photography industry, so attend photography exhibitions, workshops, or events related to motorsports to connect with like-minded individuals and professionals. Collaborate with local racing teams or publications to get your work published and gain exposure.

Conclusion

Getting into racing photography requires a combination of technical skills, knowledge of the sport, and a passion for capturing thrilling moments. By learning the basics of photography, understanding the dynamics of racing, investing in the right equipment, and practicing at various events, you can develop your skills and create compelling racing photographs. Keep exploring, learning, and refining your craft, and soon you’ll be on your way to becoming a successful racing photographer.

More Details
Dec 5, 2023
The Joy of Doing Outdoor Photography

Outdoor photography is a wonderful way to capture the beauty of nature and the world around us. Whether you are a professional photographer or simply enjoy taking photos as a hobby, there is something truly special about being outdoors and capturing stunning images.

One of the greatest joys of outdoor photography is the opportunity to explore new places. Whether it’s a local park, a mountain range, or a remote beach, there are endless possibilities for discovering unique and breathtaking landscapes. Each location offers its own set of challenges and rewards, making every photo shoot an exciting adventure.

Another advantage of outdoor photography is the abundance of natural light. Unlike indoor photography, where you have to rely on artificial lighting, shooting outdoors allows you to take advantage of the sun’s soft, natural glow. This can create stunning effects and bring out the vibrant colors in your photos.

Furthermore, outdoor photography offers a chance to connect with nature on a deeper level. Being surrounded by the sights, sounds, and smells of the outdoors can be incredibly invigorating and inspiring. It allows you to appreciate the beauty of the natural world and develop a greater understanding and respect for it.

Additionally, outdoor photography provides endless opportunities for creativity. From capturing wildlife in their natural habitats to experimenting with different angles and perspectives, there is no shortage of possibilities to express your artistic vision. The ever-changing weather and lighting conditions also add an element of unpredictability, making each photo shoot a unique and exciting challenge.

In conclusion, the joy of doing outdoor photography lies in the exploration of new places, the abundance of natural light, the connection with nature, and the endless opportunities for creativity. So grab your camera, head outdoors, and let your passion for photography come alive in the beauty of the world around you.

More Details